Chewing Insect
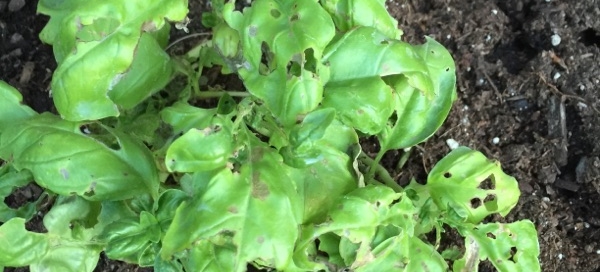
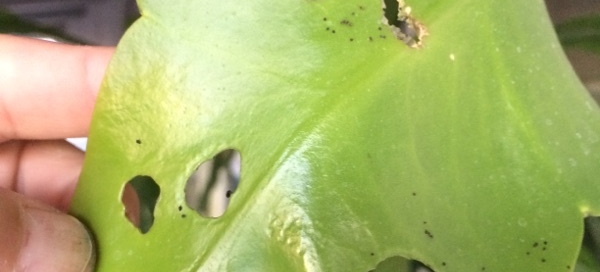
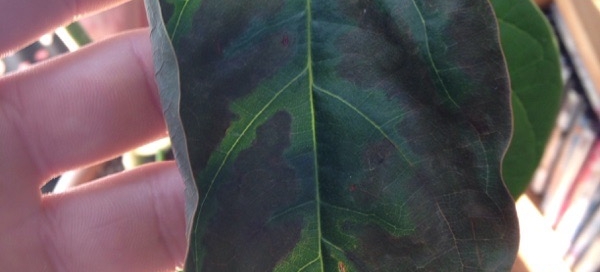
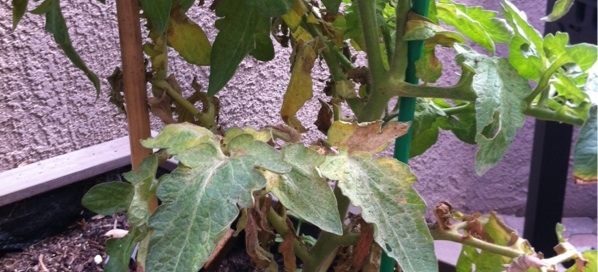
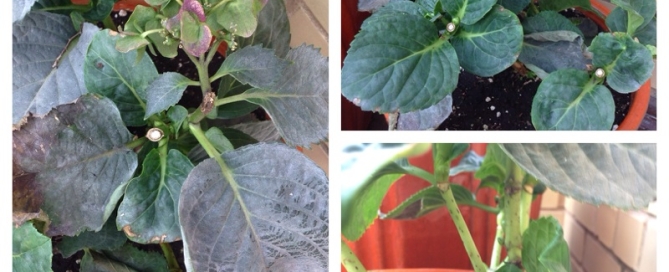
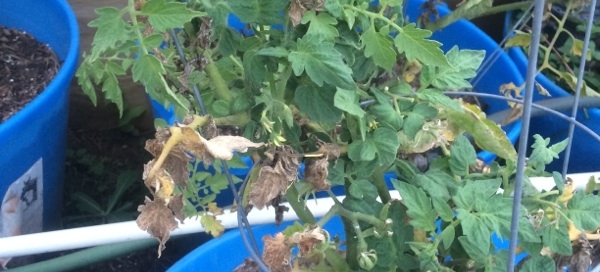
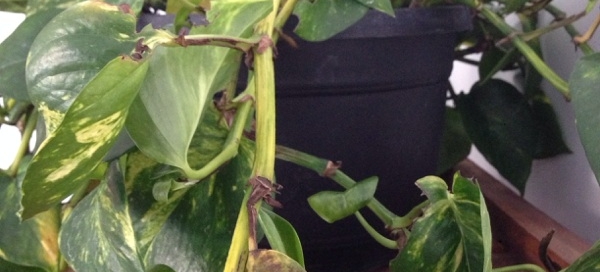
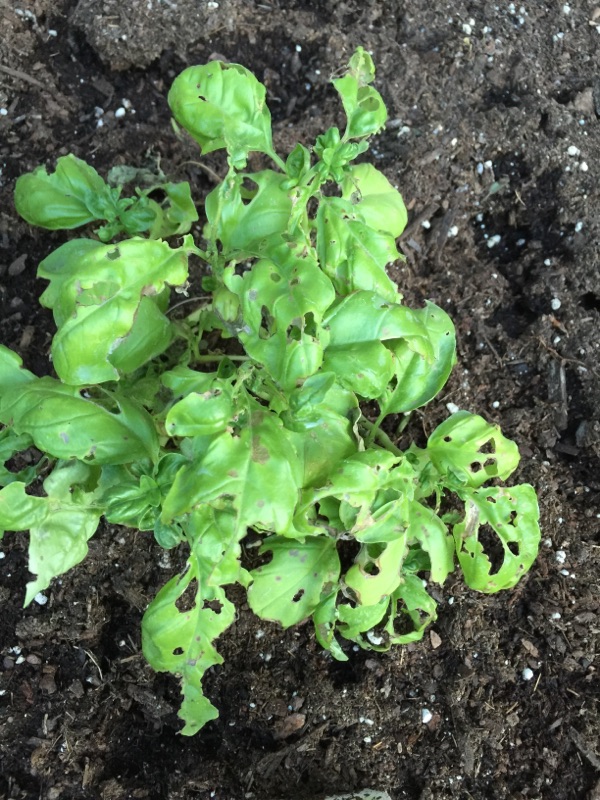
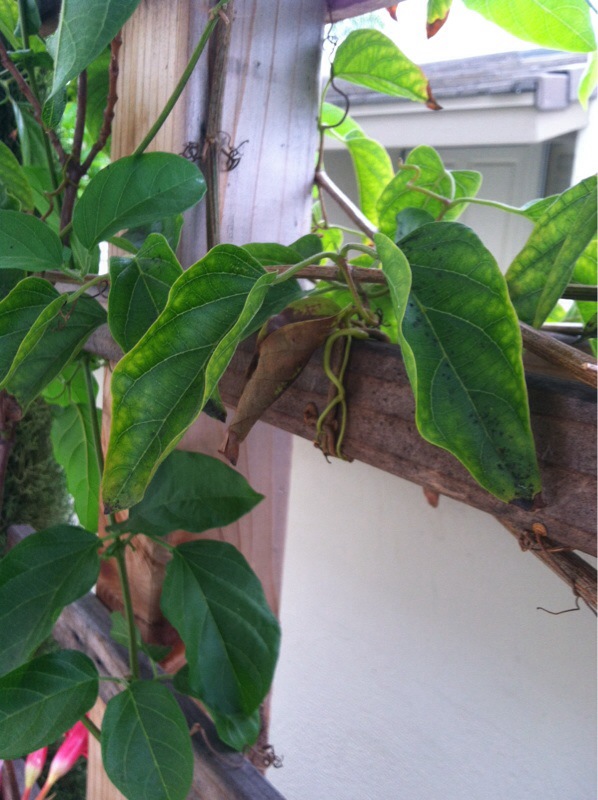
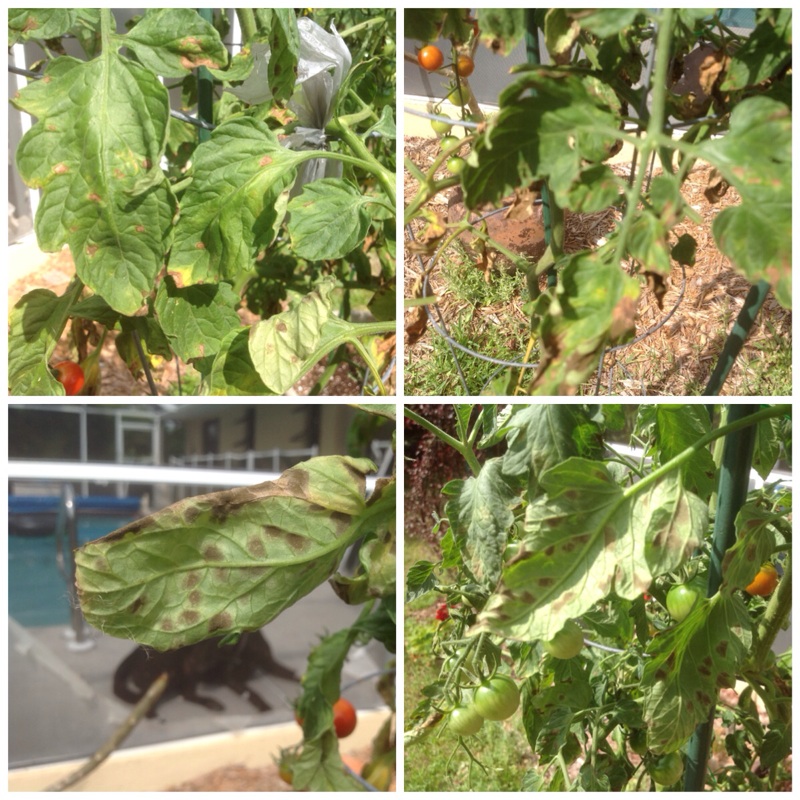
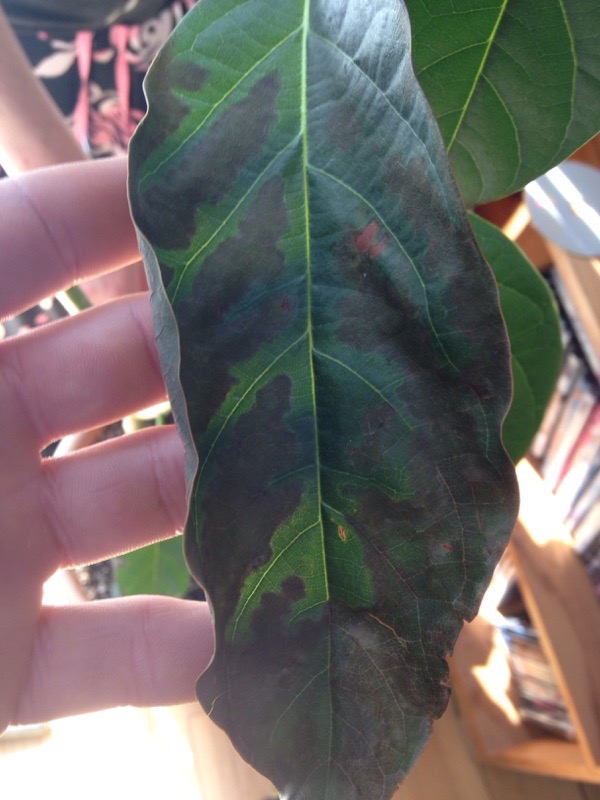
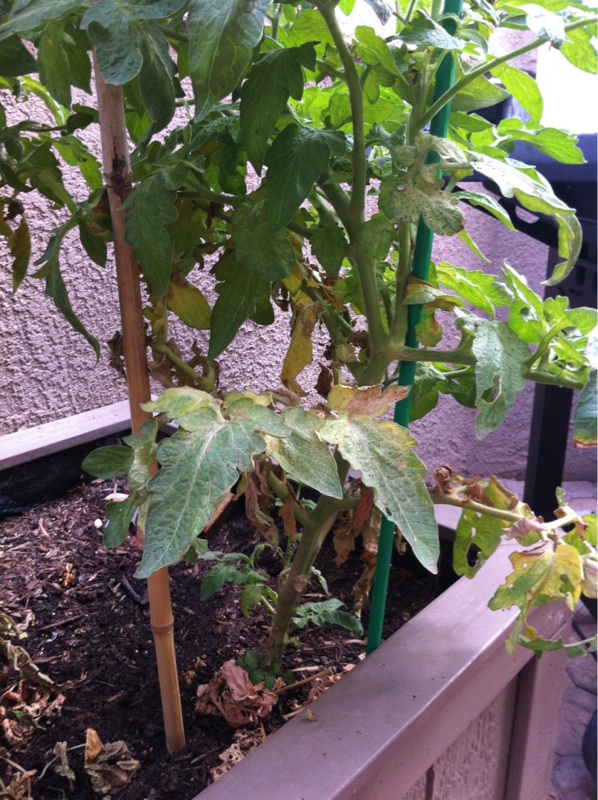
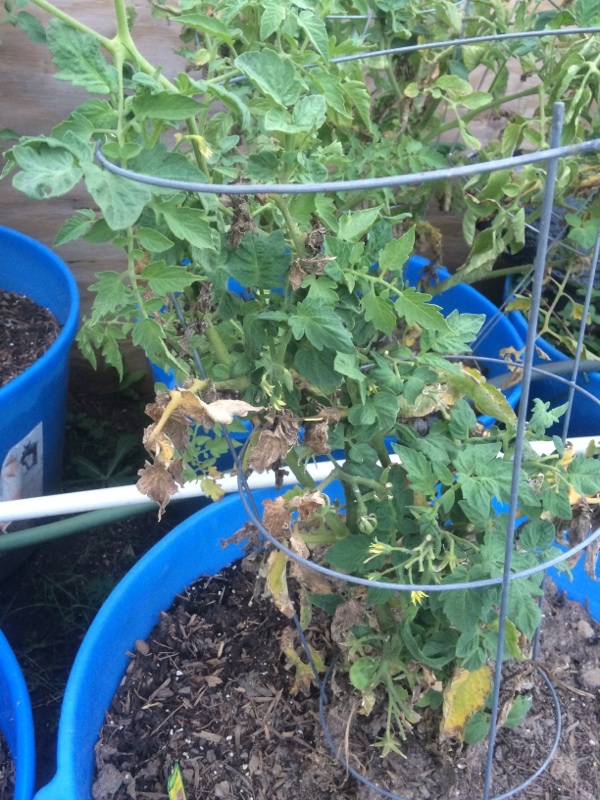
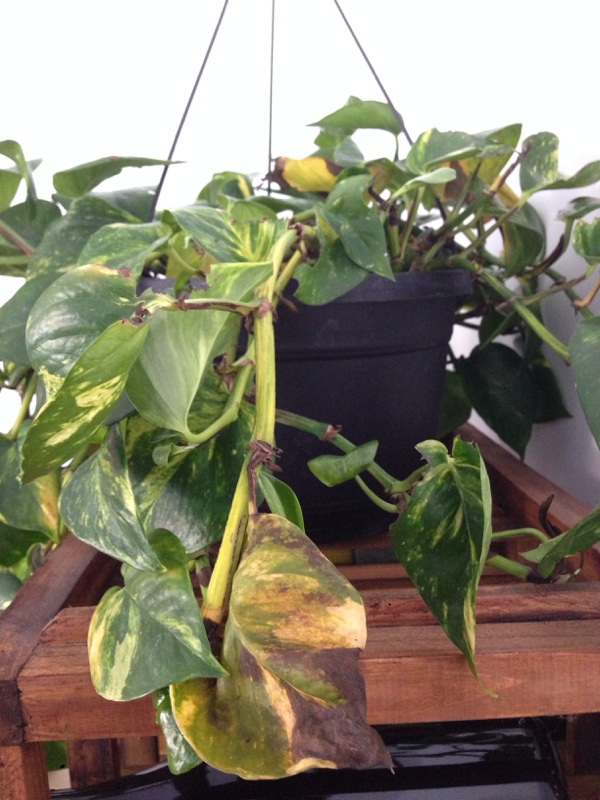
The problem with chewing insects such as bug larvae or earwigs, grasshoppers, beetles, caterpillars (too numerous to name) etc. is they move about and often are difficult to spot among the foliage, but if there are black dots on the foliage, it is the excrement of chewing insects. Chewing insects can be large enough to see with the naked eye, but they can be red, orange, green, brown, black, etc. so look closely and pluck off any you see and dispose in a bucket of soapy water as long as the infestation is not too extensive. Another chewing insect is the earwig, but it is nocturnal and seeks refuge in dark, moist areas during the day so spotting them is difficult. Earwigs favorite food is newly emerging plants with tender foliage as well as flower buds. A simple method to trap them is to roll up a moistened newspaper in the late afternoon by your plants (earwigs are attracted to warm, dark, moist areas for cover and for their habitat) and dispose of the newspaper and earwigs in the trash in the morning or shake the earwigs out into a pail of soapy water. If it is extensive, you can spray with an organic control for chewing insects recommended by your local garden center such as Bt (Bt is a contact spray only) or Spinosad (7-10 day residual), but follow application directions. Also show some of these leaves or this photo to a horticulturist at your local garden center for confirmation of the problem as well as recommendations for control but make sure it is formulated for your specific plants.
