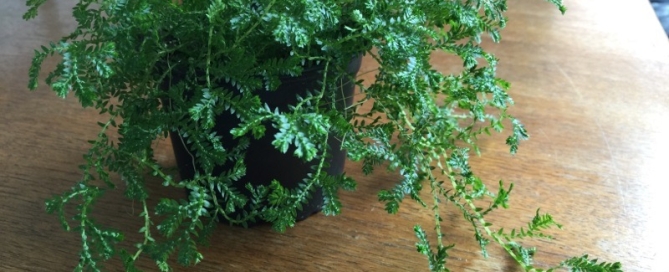
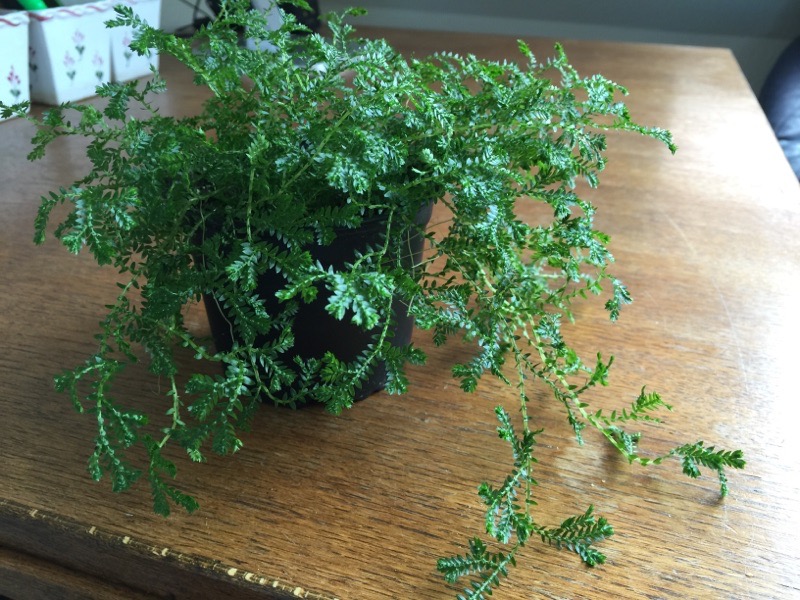
Selaginella Plant Or Clubmoss
There are about 700 varieties of Selaginella which are often referred to as Spikemoss or Arborvitae Ferns. Selaginella are very diverse in their size and in the ways in which they grow. Many can be found growing wild in tropical America, Asia, China, Japan, North America, Mexico, South Africa and Australia. Selaginella, depending upon the variety, may be a creeping, climbing, or trailing plant.
Most prefer moist but well drained locations in shade to part shade. Amend sand or heavy clay soil by incorporating a two- or three-inch layer of compost or humus. Plant quart or gallon-sized containers a foot or so apart. Water as needed to maintain damp soil. Fertilize in early spring just as new growth begins with all-purpose, slow-release fertilizer.
Some species have specific cultural care needs. Here is some info. on some of the more common species:
Selaginella kraussiana, which is also called Spreading Club Moss or Trailing Moss, grows about ½ inch high and has a limitless spread. S. kraussiana has very small bright green leaves that overlap on trailing jointed stems. Selanginella martensii is a small bushy plant that grows about 7-9” tall and just as wide. S. martensii has thick, multi-branched stems filled with small green leaves. S. lepidophylla, a native of desert and semi-desert regions, doesn’t get enough water, the leaves roll into tight brown balls (a phenomenon known as cespitose) and the plant becomes totally dormant. Once the plant gets some moisture, the leaves open up flat, turn green, and the plant starts to grow again. This is how it gets its nickname, the Resurrection Plant.