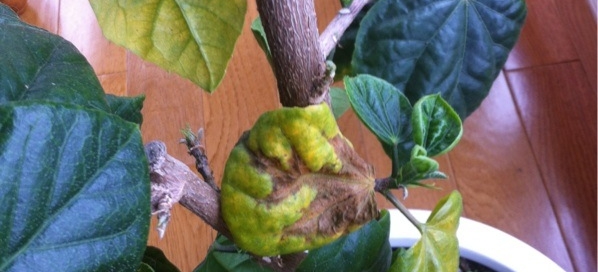
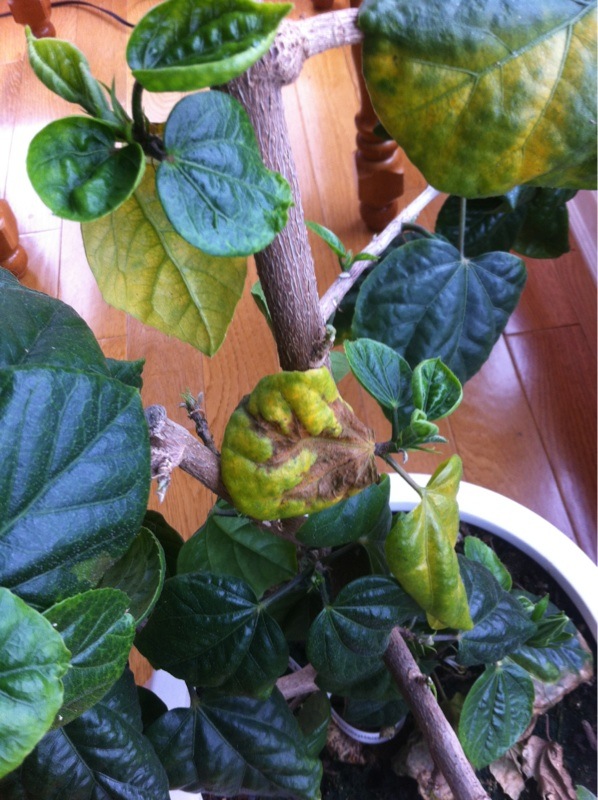
Trouble With Tropical Hibiscus
Without laying eyeballs and fingertips on this plant directly it's hard to say for sure what is causing the symptoms you see. Also, it's often true that what we see happening in plants isn't just from one cause but from several situations piling up one on another. So here are some suggestions of things you should look for and try doing to help this plant.
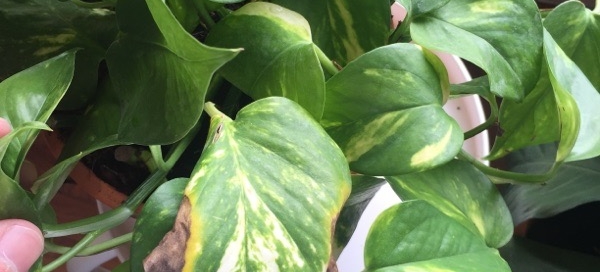
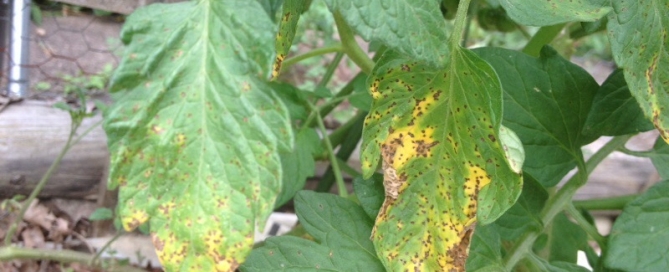
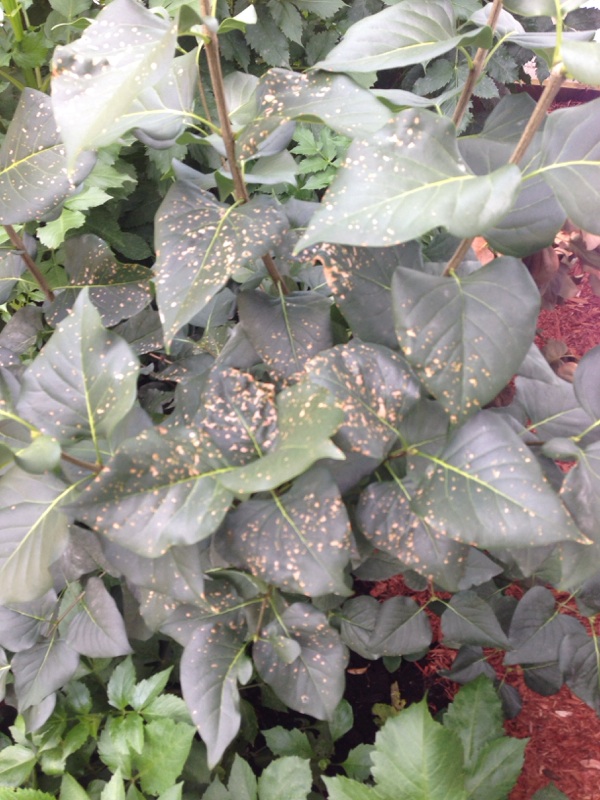
1. Look under the leaves for signs of insect activity. Tiny webs or a "dirty looking" appearance would be the sign that this plant has mites. Mites are too small to see usually, but you can see the litter they leave behind in that the underside of the leaves looks dusty and dirty. If you think you have mites, ask at your local garden center for a Miticide as a regular insecticide usually doesn't work on mites.
2. Is the plant root bound? If it's been in the same pot for a long time the roots might be clogging the drainage hole and preventing the plant from growing. Root bound plants are often either too wet or too dry because the roots prevent good watering. If you tip this plant out of the pot and see lots of roots circling the bottom, or roots coming out the drainage hole, it's time for a larger pot and fresh soil. Be sure not to put rocks or other stuff in the bottom of the pot "for drainage" - it's BAD for plants! Just soil.
3. Has the plant been fertilized lately? If not, water the plant well and then give it an application of fertilizer mixed according to directions.
If you see no signs of insects and the plant isn't root bound, please contact us again and we'll reach into our collective "green brains" further to help!
