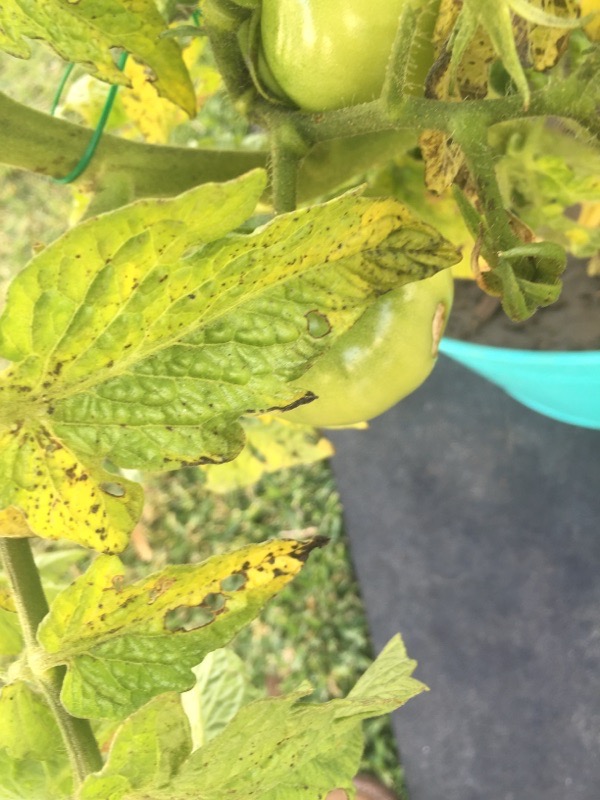
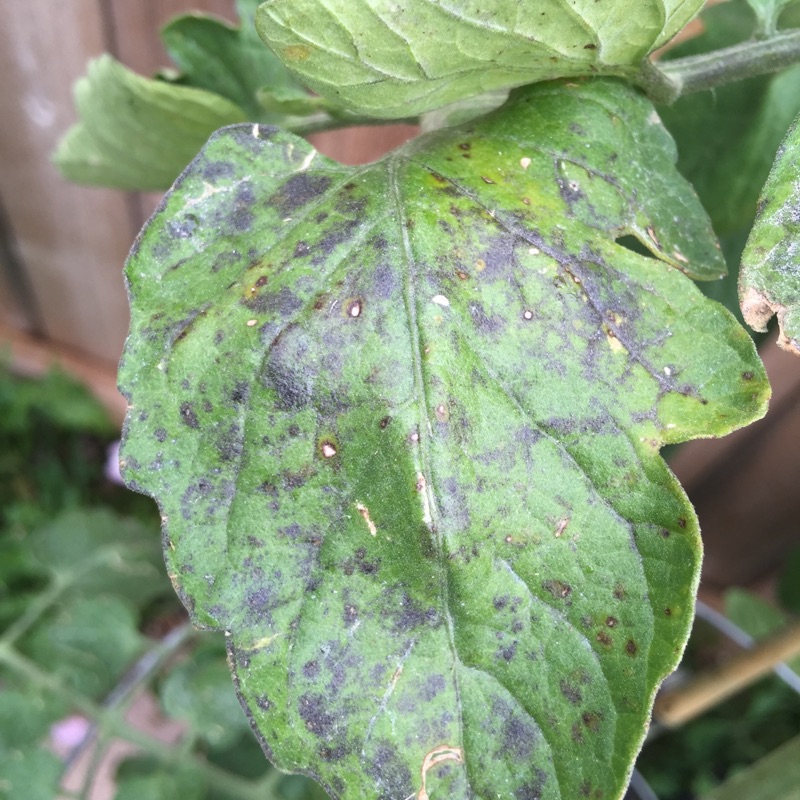
Over Wintered Annualtender Perennial
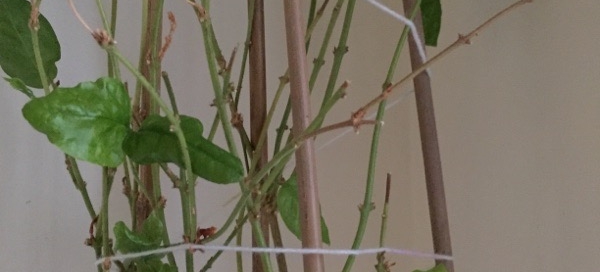
This plant is suffering from too little light indoors. Frankly, all of us "garden geeks" have plants in our houses that look just the same right now. I have a window full of "Begonia prettypathetica" plants every year at this time. ;-)
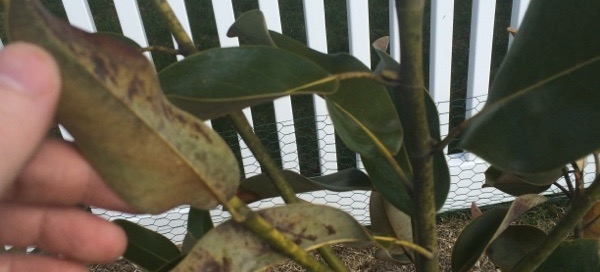
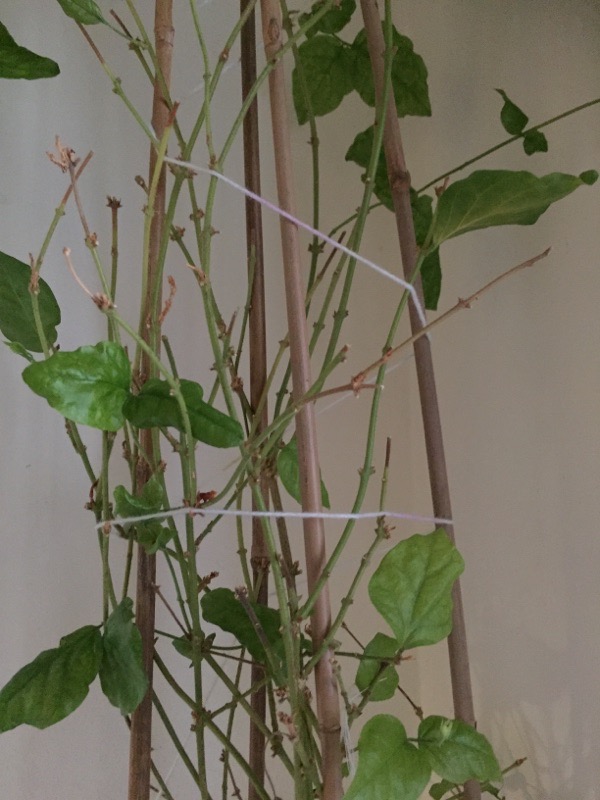
At this point, be proud that this plant is still alive! Actually, it's not looking that bad in that most of the stems are still green and alive. The plant has dropped leaves because these are the "food factories" and when there is little light from a combination of indoor conditions and fewer hours of daylight, the plant "lays off workers." If there isn't that much photosynthesis to be done, the plant drops leaves so that there is less moisture lost and less to maintain. Kind of like how garden centers lay off employees for the winter and re-hire in the spring.
So what to do now? Keep doing what you've been doing in that this plant is still alive and biding it's time! Clip off any brown or obviously dead twigs but leave any stems that are green. If the pot is less than 8" in diameter you'll want to consider upgrading the pot size and giving the plant some new soil when you put it out in late May. When you do put it back outside, place it in a shady spot first or a place where it only gets a couple of hours of morning sun. Start to fertilize it once it's back outside, and after a couple of weeks move it to where there is more light.
Send us photos in mid-June, OK? We're willing to bet this plant will be full again by then, and we'd love to see what it looks like once it comes into flower.
