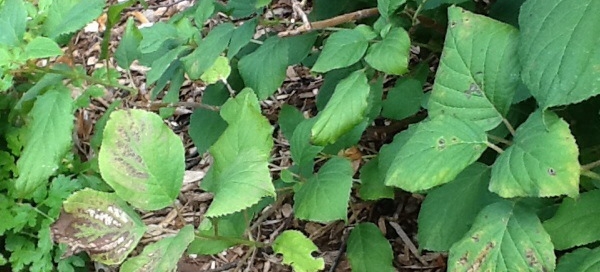
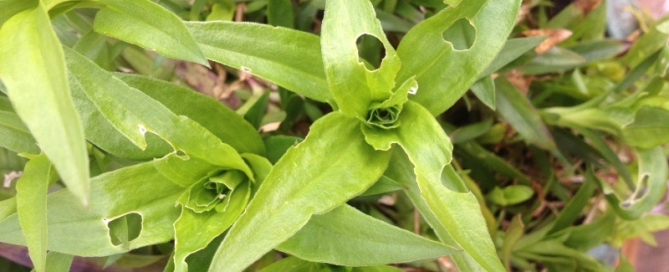
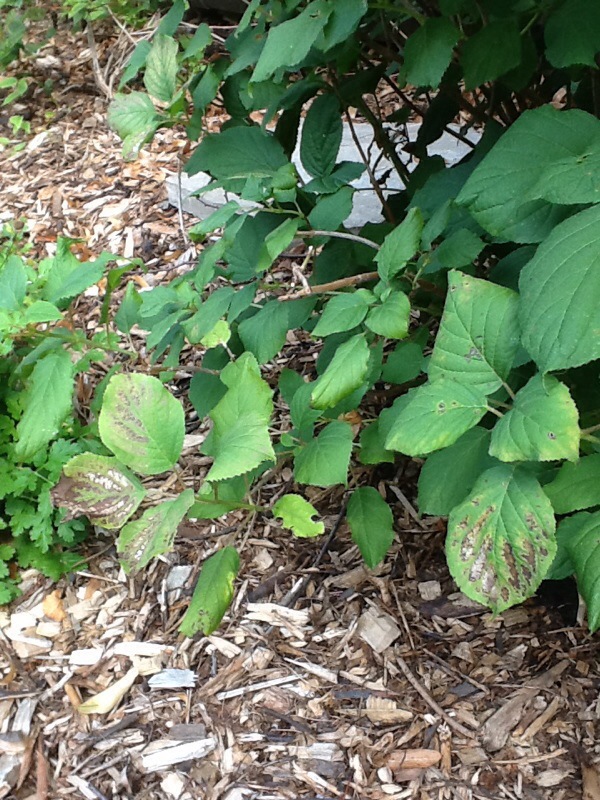
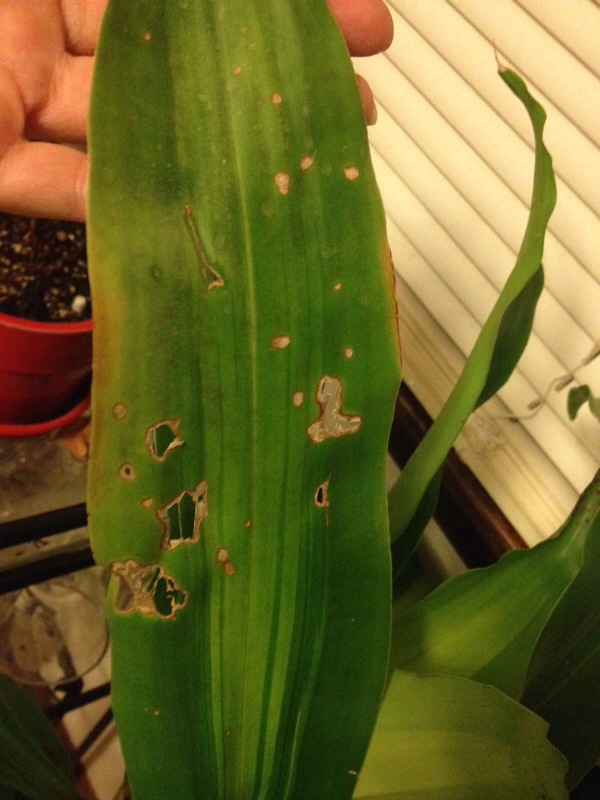
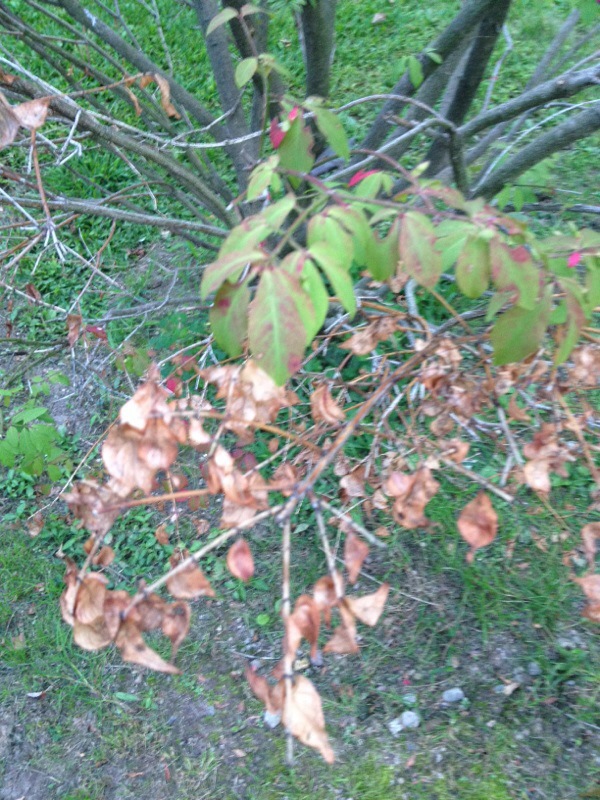
Leaf Damage On Annabelle Hydrangea
In this photo it looks like the damage is mostly on the bottom leaves near the ground, is that true? If so, that argues for something different that's going on in that area, such as the plant getting hit with a sprinkler that's watering a nearby lawn, for example. But whether the damage is seen just near the ground, or over the entire plant, there are several possible causes and you can think about what's most likely for your plant. (After the list we've also given you a recommended course of action even if you can't figure out what has caused this damage.)
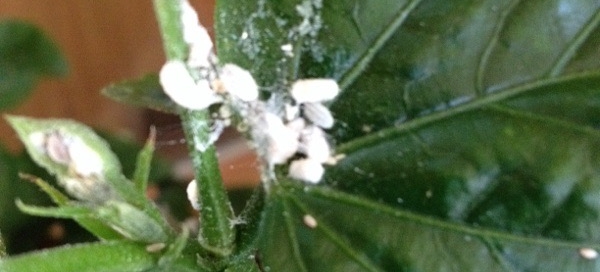
1. Look under the leaves to see if there are small, green larvae (they look like worms) eating the tissue under the leaves. There are green "fruit worms" that sometimes eat the underside of hydrangea leaves, which causes the top tissues to brown and die. If you see any green larvae either pick them off and smash them, or spray the underside of the foliage with a product containing spinosad, an organic treatment that kills a wide range of larvae when eaten.
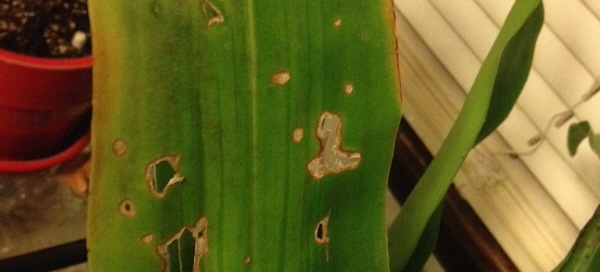
2. Fungus: the most common cause of leaf-spot on plants is a wide range of fungi. This is especially likely if parts of this plant are getting hit with water on a frequent basis, either by hand watering with a hose or a sprinkler system. Picking off the worst of the leaves and watering deeply less often (once a week) in the AM so that foliage has a chance to dry usually solves the problem. The good news is that leaf-spot fungus is usually just a cosmetic issue and doesn't kill plants.
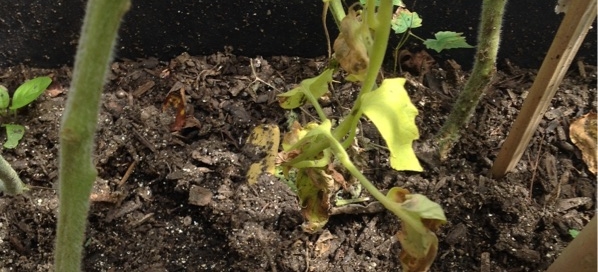
3. Contact damage. This type of damage happens if foliage gets hit with something that kills the leaf tissues when it lands. Hot water from a sun-heated hose, liquid fertilizer mixed too strongly, cleaning products used to wash decks or windows, herbicides or drift from other garden products can all damage foliage. If this was the cause the damage won't continue unless what caused the problem also continues.
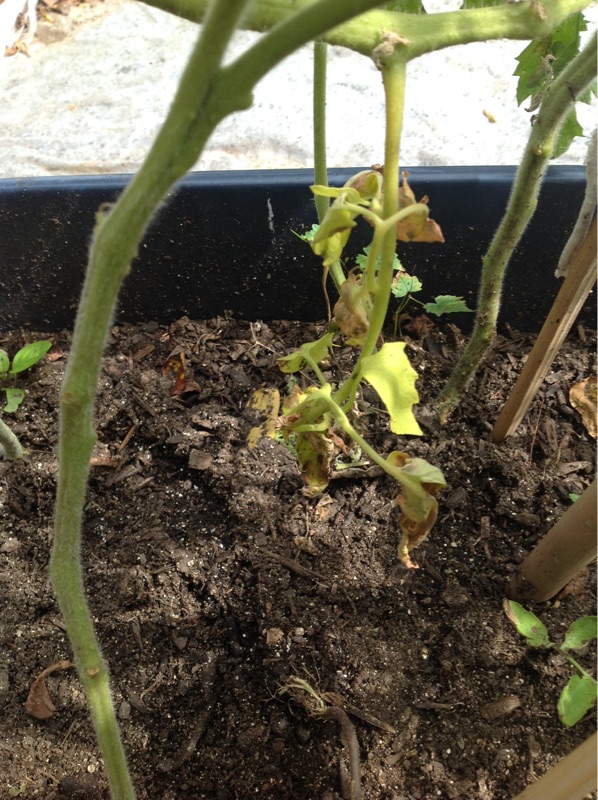
No matter which of these has caused your situation, picking off the worst looking leaves will help you to determine if the problem is still going on and will improve the look of the plant. If you suspect a fungal leaf spot you can use one of the organic fungicides such as Serenade, Actinovate or Sulfur, but that won't cure tissues that are already infected, it will only help to protect any undamaged leaves.
Know that most insects and diseases are very host-specific, so you don't have to worry that this is something that will "spread to everything else in the yard", which is understandably a common concern but not likely to happen.